In a world where everything seems to come pre-packaged, why not unleash your inner inventor? A DIY 3D printer can transform the way you create, allowing you to print everything from quirky gadgets to practical household items right from your living room. Imagine impressing friends with your latest creation while they wonder if you’ve secretly become a wizard. Spoiler alert: you haven’t, but you might as well be!
Building your own 3D printer might sound like a daunting task, but it’s more like assembling a puzzle—one with a sprinkle of magic and a dash of engineering. With a little patience and the right guidance, you’ll be crafting custom pieces in no time. So grab your tools and let’s dive into the fascinating world of DIY 3D printing, where the only limit is your imagination (and maybe your printer’s filament supply).
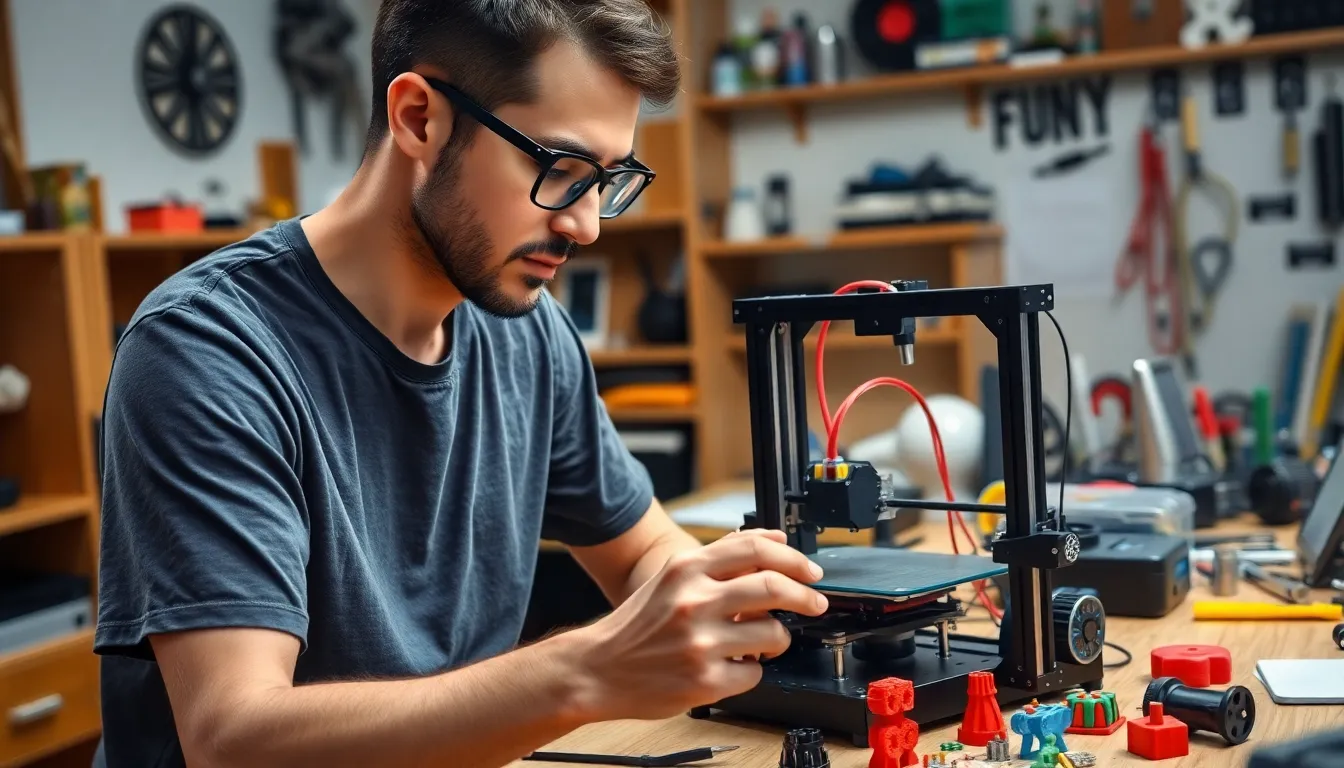
Overview of DIY 3D Printers
DIY 3D printers empower creators to make custom items. Understanding these devices unlocks endless potential for innovation.
What Is a DIY 3D Printer?
A DIY 3D printer refers to a device assembled by individuals using kits or custom parts. The printer can produce three-dimensional objects based on digital designs. Users can select various components, such as the frame, motors, and extruders, tailoring the machine to their preferences. Many open-source designs are available, allowing for easy modification and improvement of printer specifications. This customization makes DIY 3D printing accessible, enabling enthusiasts to adapt their printers according to project needs.
Benefits of Building Your Own 3D Printer
Building a DIY 3D printer offers numerous advantages. First, cost savings are significant compared to pre-assembled models. Second, gaining technical knowledge during the assembly process enhances understanding of 3D printing mechanics, which facilitates troubleshooting. Third, users enjoy customization options that allow them to modify print quality, speed, or material compatibility. Fourth, individuals can develop a unique community network, sharing tips and techniques with fellow DIY enthusiasts. Lastly, building the printer provides a sense of accomplishment that adds value to every printed item.
Choosing the Right 3D Printer Kit
Selecting the right 3D printer kit influences the success of the DIY project. Several important factors impact this decision.
Key Factors to Consider
Budget ranks as a primary consideration. Kits vary in price, so defining a range helps narrow options. Build volume also matters since larger projects require bigger printers. Print technology plays a crucial role; FDM is popular and user-friendly, while SLA offers higher detail. Assembly complexity can vary, with some kits offering straightforward instructions and others requiring advanced skills. Additionally, the availability of support and community resources aids in troubleshooting during the building process.
Popular DIY 3D Printer Kits
Several kits stand out for DIY enthusiasts. The Creality Ender 3 delivers affordability and reliable performance, making it a top choice for beginners. Prusa Mini features high-quality components and excellent print quality, appealing to those aiming for precision. The Monoprice Select Mini offers a compact design, ideal for limited spaces, while the Anycubic Mega-S provides ease of assembly and impressive print capabilities. Each kit caters to different needs, ensuring creators find options that fit their preferences and project goals.
Assembling Your DIY 3D Printer
Assembling a DIY 3D printer involves several key components and careful attention to detail. A successful build ensures optimal performance and lasting enjoyment.
Tools and Materials Needed
Gathering the right tools and materials simplifies the assembly process. Essential items include a screwdriver set, Allen wrench, and a spatula for removing prints. Moreover, a measuring tape aids in ensuring precision during assembly. Various materials such as the printer kit, filament, and a heated bed often come with the purchase. Adding safety glasses enhances protection during installation. Keeping these tools handy makes the construction straightforward and efficient.
Step-by-Step Assembly Guide
Following a methodical assembly guide yields the best results. Begin by assembling the printer frame, securing all corners tightly for stability. Next, install the stepper motors at designated points, following specific orientation instructions. After that, attach the print bed and ensure even leveling to achieve quality prints. Connecting the wiring harness comes next, ensuring each wire fits into the correct terminal. Completing the remaining components, such as the extruder and cooling fan, adds functionality. Testing the printer after assembly guarantees everything operates smoothly before the first print.
Troubleshooting Common Issues
DIY 3D printers may encounter various challenges during operation. Identifying and resolving these problems can enhance the printing experience.
Electrical Problems
Electrical issues can disrupt the printer’s functionality. Check for loose wiring connections, which often cause power interruptions. Inspect the power supply for any irregularities, including fluctuations that might lead to system instability. Testing the motherboard is crucial; a malfunctioning board can result in erratic behavior. Moreover, ensuring that the firmware is updated helps in optimizing performance, as outdated software may lead to compatibility issues. Regular checks can prevent further complications and maintain smooth operation.
Mechanical Issues
Mechanical problems frequently affect print quality. Misalignment of the print head or bed impacts accuracy, so ensuring proper calibration is essential. Examine belts and pulleys for wear or looseness, because tightness directly influences movement precision. Inspect the nozzle for clogs that affect filament flow. A clean path ensures consistent extrusion, resulting in better prints. Additionally, check the gantry system to confirm it operates smoothly; any binding can lead to failed prints. Routine maintenance keeps the printer in top shape, maximizing usability and output.
Upgrading Your DIY 3D Printer
Upgrading a DIY 3D printer can significantly improve print quality and reliability. Performance enhancements often lead to smoother operation.
Performance Enhancements
Upgrade components like the extruder and hotend for better filament flow and temperature control. Improved stepper motors increase precision and speed during prints. Installing a more advanced print surface boosts adhesion, reducing warping. Adding auto-bed leveling systems simplifies the process of maintaining print consistency. These enhancements provide users with a more efficient printing experience and improve overall output quality.
Accessory Add-Ons
Consider attaching accessories like filaments in various materials for more diverse printing options. A filament dryer can prevent moisture absorption, enhancing printing performance. Adding a Raspberry Pi with OctoPrint allows for remote monitoring and control of the printer. Incorporate upgraded cooling fans to ensure consistent temperature and reduce print defects. Accessories like these expand the printer’s capabilities and enhance user creativity.
Embracing the world of DIY 3D printing opens up a realm of creativity and innovation. By building their own printer, individuals not only save costs but also gain valuable technical skills. Each project becomes a unique expression of their imagination, limited only by the materials at hand.
The journey from assembly to troubleshooting and upgrading fosters a sense of community among enthusiasts. With the right tools and guidance, anyone can transform ideas into tangible creations. As they dive into this exciting hobby, they’ll discover the endless possibilities that a DIY 3D printer can offer, making it a worthwhile investment for both personal and practical use.